TABLE OF CONTENTS
Checklists for inspection orders and maintenance activities consist of sections and the checkpoints they contain. Below, you can read how to create and edit checklists using these elements.
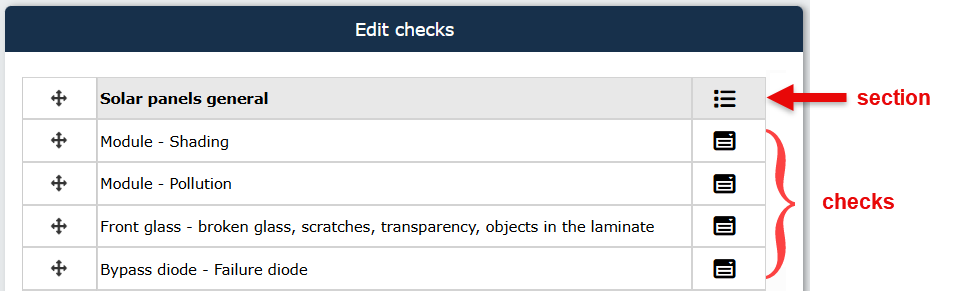
Creating (new) sections
Select “Edit checkpoints” in the checklist editor.
If you are creating or editing the checklist for an inspection order, first select an inspection group.
You will now see the “New section” button in the right-hand column .
.
Clicking this button opens an input window where you can enter the desired name of the section and select the section type.
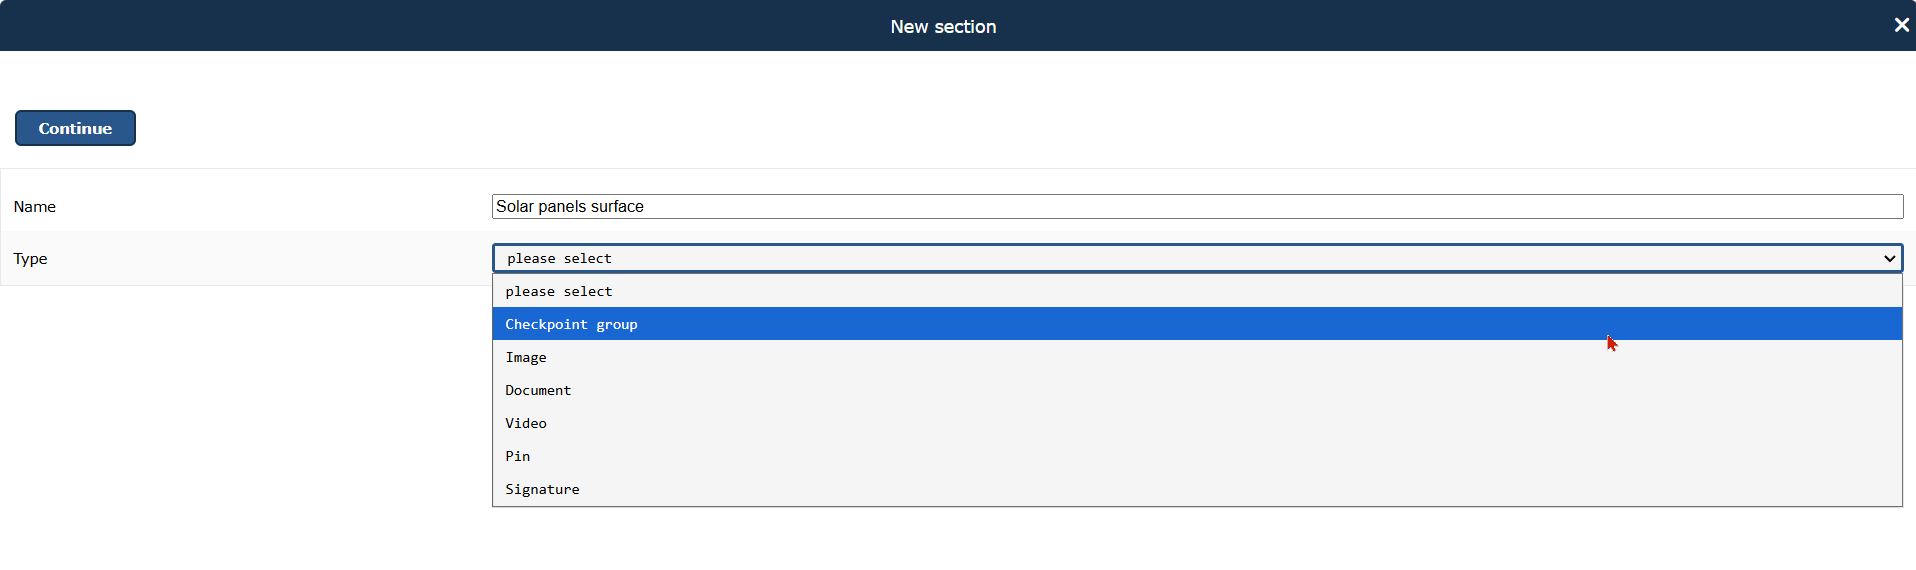
The following section types are available:
Checkpoint group
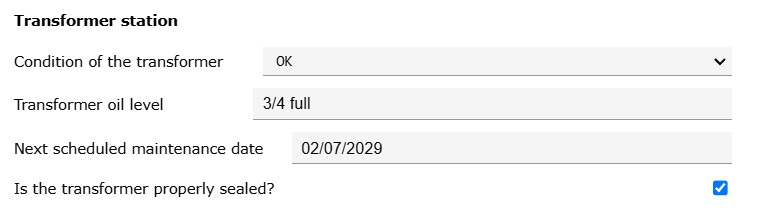
This section type can contain any number of the checkpoint types listed below. It is possible to combine different checkpoint types.
Example:
Image
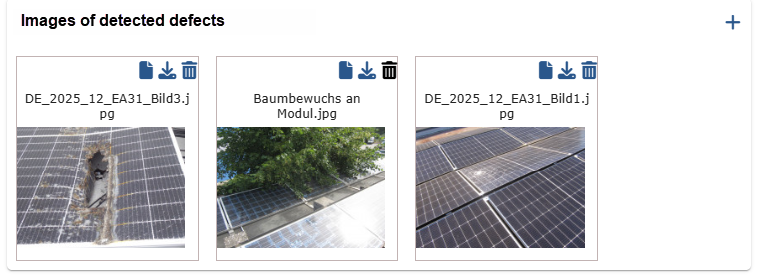
This section type creates an image section within the checklist, into which any number of images can be uploaded.
Example:
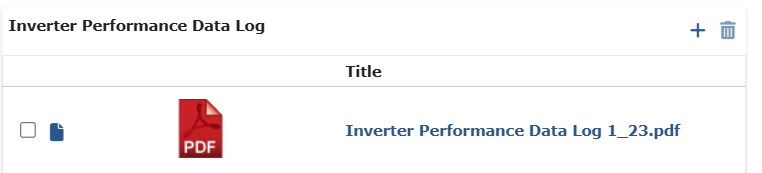
Document
Use this section type if you want to allow files, such as manuals or measurement data, to be attached within a checklist.
Example:
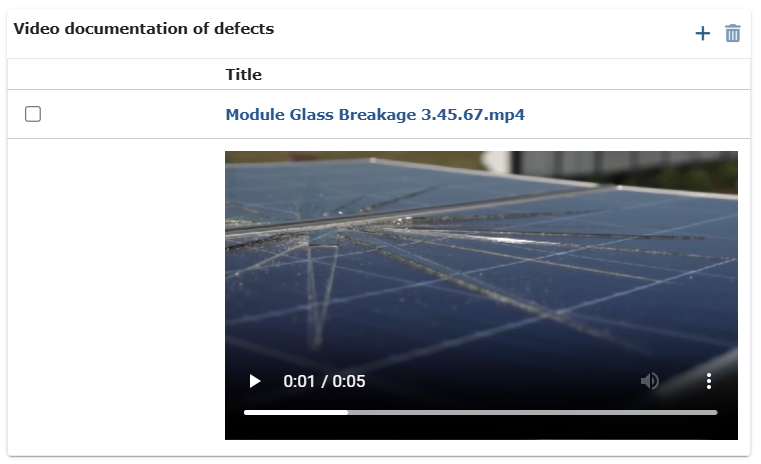
Video
Use this section type if you want to allow videos to be uploaded within a checklist, for example to provide comprehensive documentation of damage.
Example:
Pin
Use this section type if you want to allow locations to be marked on a site plan using plan markers, known as “pins”, within a checklist.
Example:
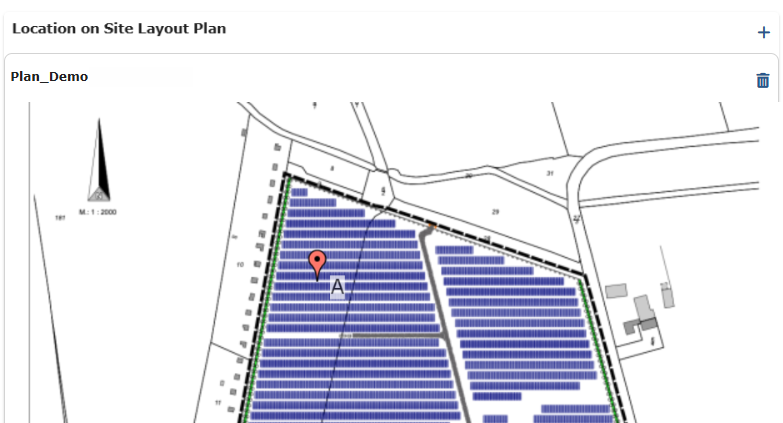
The site plans required for this can be stored in the project file in the “Plans for pins” section
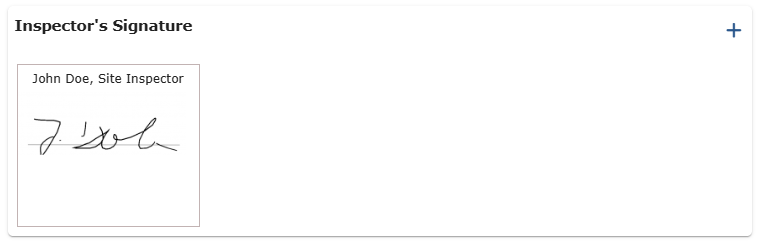
Signature
Use this section type if you want to provide a field for signatures within a checklist.
Example:
As soon as a new section has been created, it is displayed in the checkpoint overview.
The icon on the right-hand side of a section entry shows which section type it is.
Creating new checkpoints
You can add any number of checks to sections of the “Checkpoint group” type.
To do this, click the “New check” button at the end of the section you want to edit.
An input window opens where you can enter the desired name of the check and select the check type.
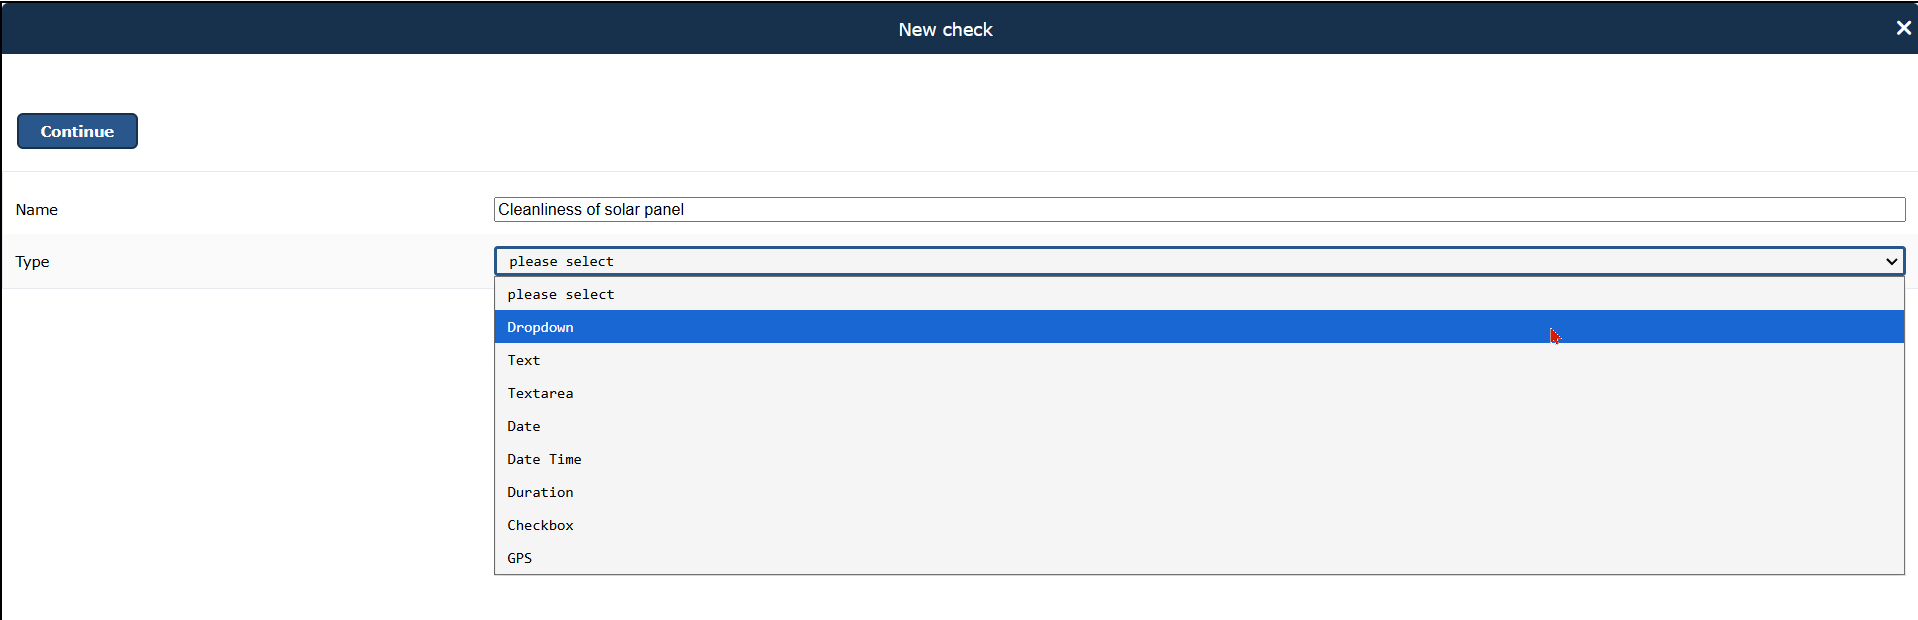
The following check types are available:
Dropdown
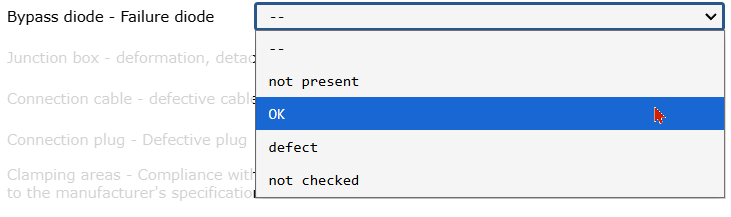
Use this check type if you want to provide a predefined selection of response options for a query.
You can define the available answers in the input form in the next step.
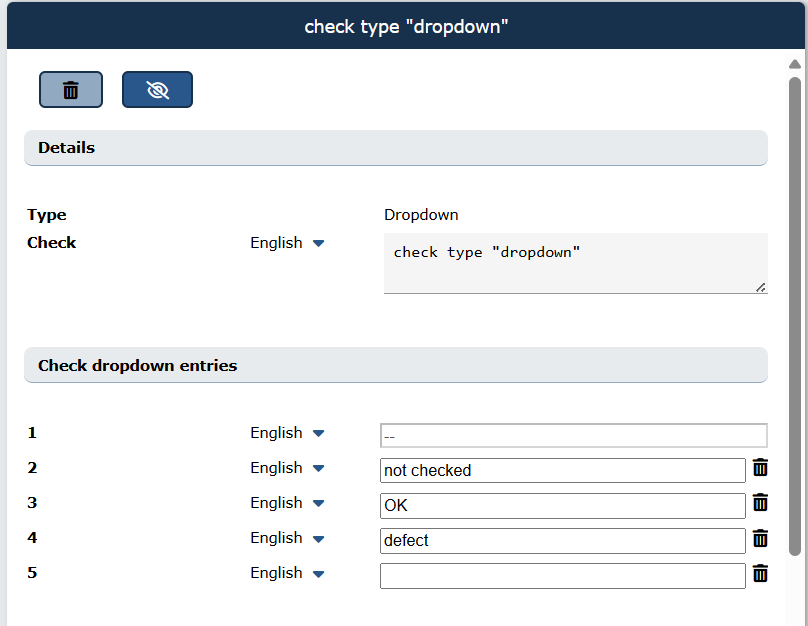
You can create any number of additional dropdown entries. Please note, however, that the list may become difficult to manage once a certain number of entries has been reached.
If your TabTool package includes users who use the software in languages other than German, it is advisable to add the corresponding translation directly by clicking the arrow icon to the right of the language information for a new dropdown entry.
Text
This check type creates a single-line text field in the order form, allowing a limited number of characters to be entered. It is particularly suitable for checks where, for example, a measured value or date is requested.
Example:

Textarea
This check type creates an input field for texts of any length. It should always be used if more extensive information may need to be provided for an inspection item.
Example:

Date
This check type creates an input field for date entries.
Example:
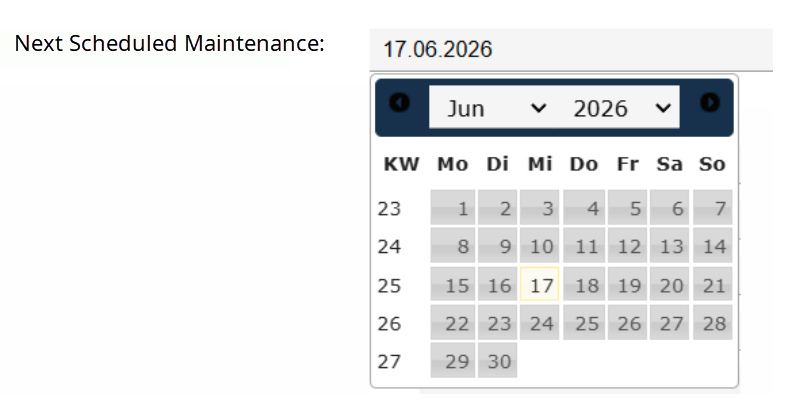
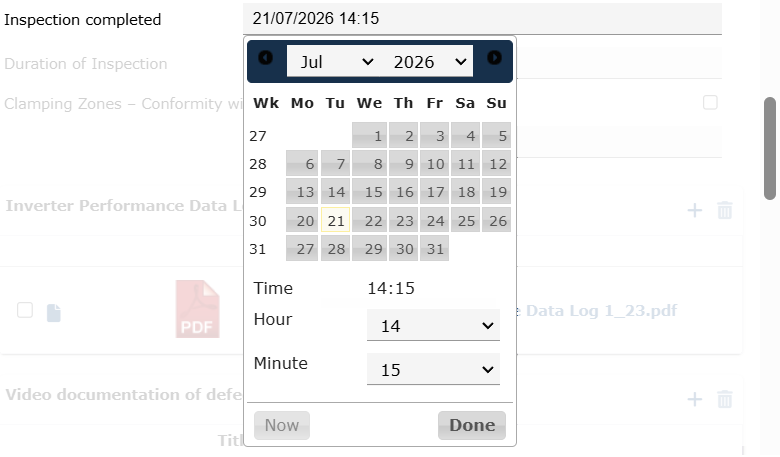
Date Time
This check type creates an input field for selecting a date and time.
Example:
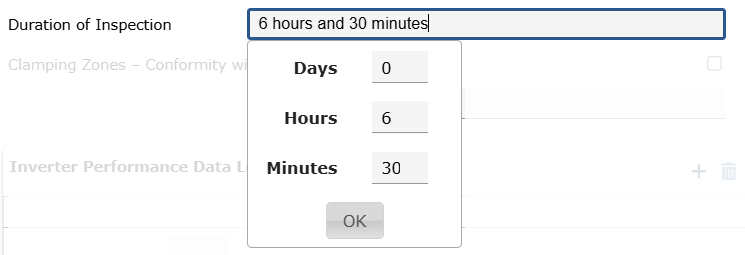
Duration
This check type creates an input field that can be used to enter information about the duration of an event in days, hours and minutes.
Example:
Checkbox
This check type creates a checkbox which can be ticked to confirm that a statement applies.
Example:

If the statement applies, then:

The checkbox is not displayed in the report. Instead, “Yes” appears in its place if the checkbox was ticked in the form, or “No” if it was not ticked.
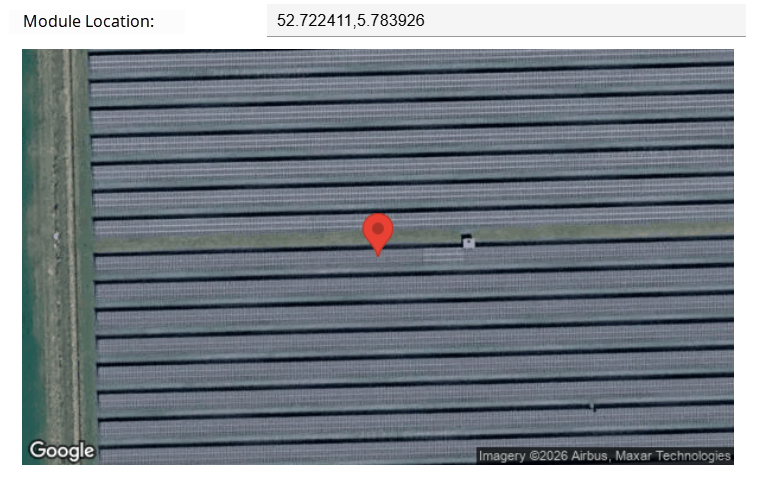
GPS
This check type creates an input field for GPS data. It is particularly suitable for recording the locations of systems or components in the TabTool app on a mobile device.
Example:
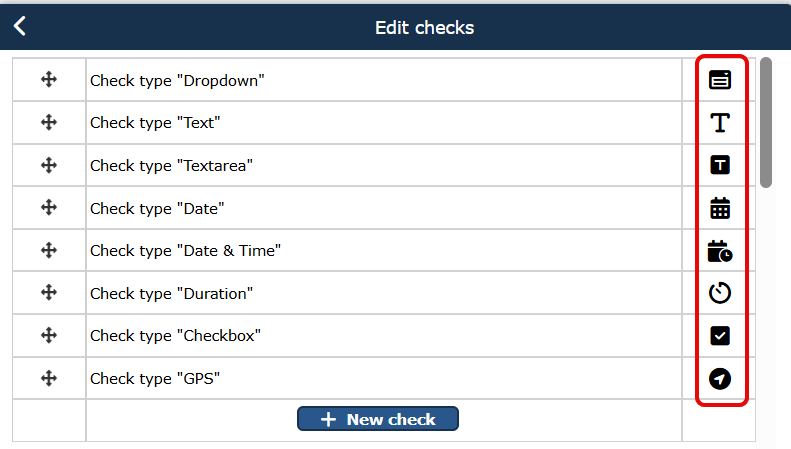
As soon as a new check has been created, it is displayed in the check overview.
The icon on the right-hand side of an entry shows which check type it is.
Clicking the list entry opens the detail view of the new check in the right-hand column. Here you can add translations, edit the dropdown list of a check and delete it again if required.
Deleting checks and sections
If you are sure that you no longer need a check or section, you can delete it. To do this, select the check/section in the checklist overview and click the delete icon in the detail view in the right-hand column.
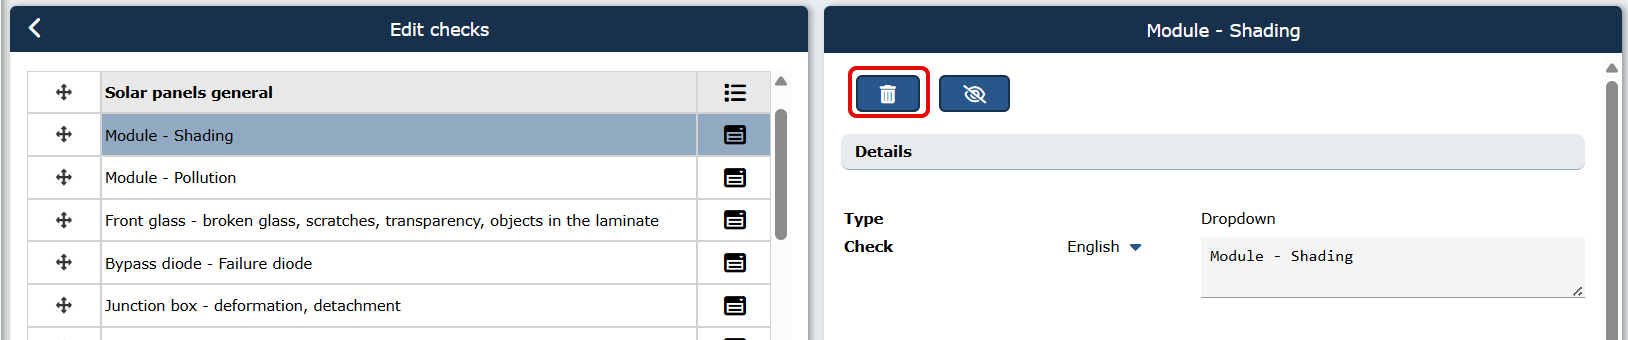
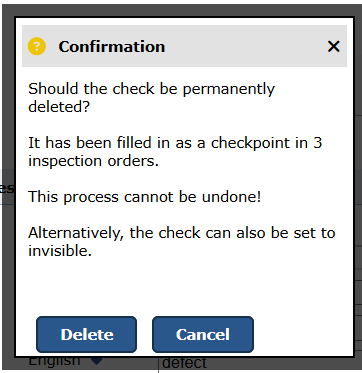
A notification window appears asking you to confirm that you want to delete the check/section or cancel the action. If the check/section has already been completed in one or more orders, you will be informed of this in the notification window.
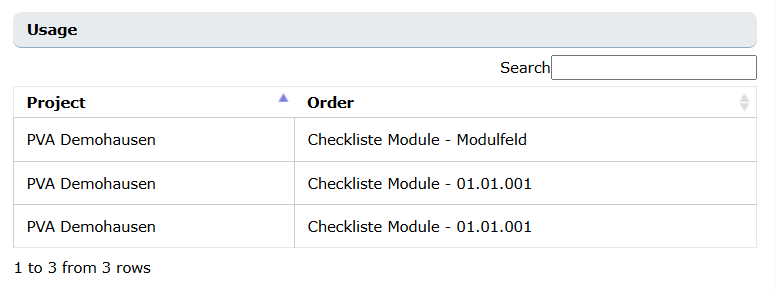
You can see in which orders the check/section was completed in from the detail view of the check/section.
Before deleting a check/section that has been completed in an order, you should make sure that the final inspection report for this order has already been created. This is because deleting a check/section also removes it retrospectively from all checklists that have already been processed — together with the entries made in them.
Please also note that deleting a section also deletes all checks contained within it. If you want to keep individual checks from a section that is to be deleted, you should move them to another section beforehand.
Hiding checks
Instead of deleting checks, you can simply hide or “conceal” them. They will still be listed in the checklist settings, but will no longer be displayed in the fillable checklists in the order.
For checks that have already been completed in some inspection or maintenance orders, hiding the check is therefore a good alternative to deleting it.
To hide a check, click the button. This is located directly next to the delete icon.
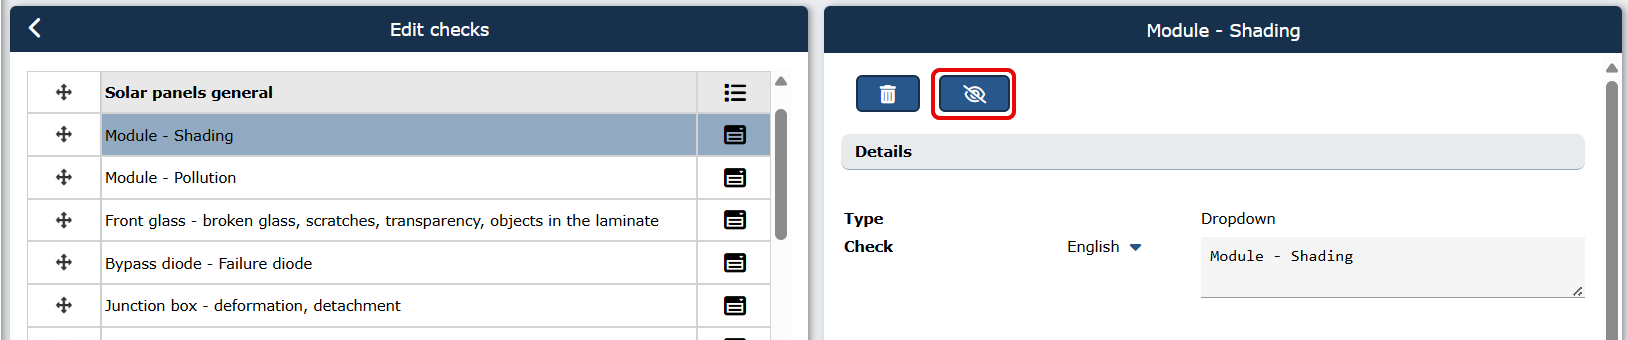
A window opens asking you to confirm that you want to hide the check or cancel the action.
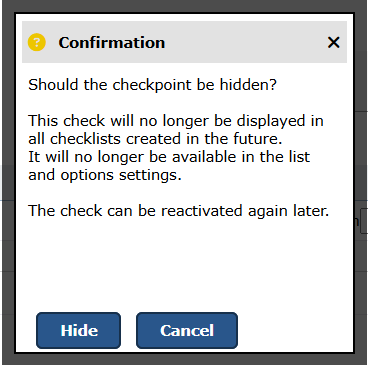
When you click “Hide”, the check is crossed out in the checklist overview and marked with an icon. This shows that you have successfully hidden it and that it will therefore no longer be displayed in the inspection order.
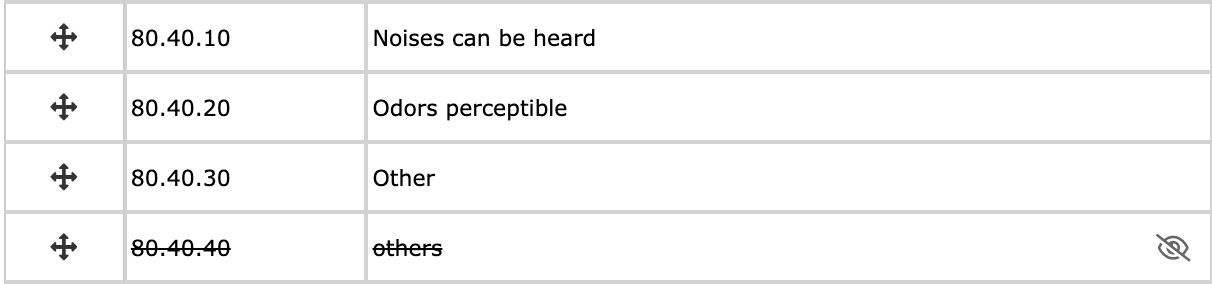
If you want to show the check again at a later date, open it in the “Edit checkpoints” menu and click the button in the check details.
YOU MIGHT ALSO BE INTERESTED IN THESE ARTICLES
Creating checklists for maintenance tasks
Was this article helpful?
That’s Great!
Thank you for your feedback
Sorry! We couldn't be helpful
Thank you for your feedback
Feedback sent
We appreciate your effort and will try to fix the article